The Very High Radius Unsharp Mask .8bf Plugin
Version 1.202
High-radius low-amount (HiRaLoAm) unsharp masking is a technique for increasing local contrast, or “clarity.” It involves first applying a Gaussian blur to a copy of the image, then subtracting the blurred image from the original. The blur radius is large compared to that used for conventional sharpening, often an appreciable fraction of the overall image dimensions. Unfortunately, the blur algorithms used in most software are necessarily approximations to a true mathematical Gaussian blur, and tend to depart from the ideal at large radii. This limits the usefulness of the technique when editing large images, such as those with dimensions of 4000 pixels or more. Even when high radii are available, the final result is often very different from the preview, and the intended effect may be impossible to achieve.
The Very High Radius Unsharp Mask filter takes advantage of the fact that since the blurred image contains no fine detail, it can be greatly resized with little effect on the final result. In use, a copy of the original image is reduced in size, comparable to the image preview itself, and a similarly-scaled blur applied. The blurred image is then enlarged to the size of the original image, and used as the unsharp mask. The resulting image is very similar to the preview, even if many times its size.
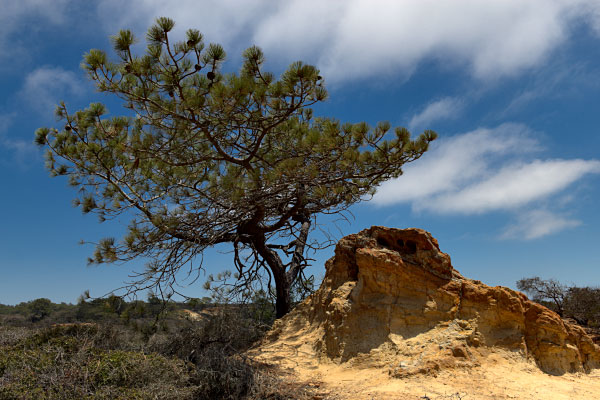 |
This is a 600 × 400 pixel image which was sharpened with a 56 pixel radius. Roll your mouse over it to see the 7370 × 4916 pixel version of the same image, sharpened with a 704 pixel radius (then resized to 600 × 400). Both radii were 8% of the image diagonal. Note how different they look; the larger one does not achieve the intended effect. | |
|
The same two images; but this time the mask for the larger one was made from a reduced version of the original, then enlarged back to the original size. You may have to look close to see the difference. | |
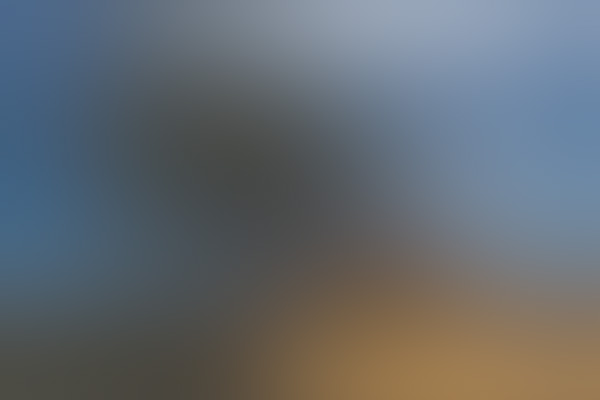
| This is the Gaussian blurred image that gets resized. There’s not much to lose in transition. | |
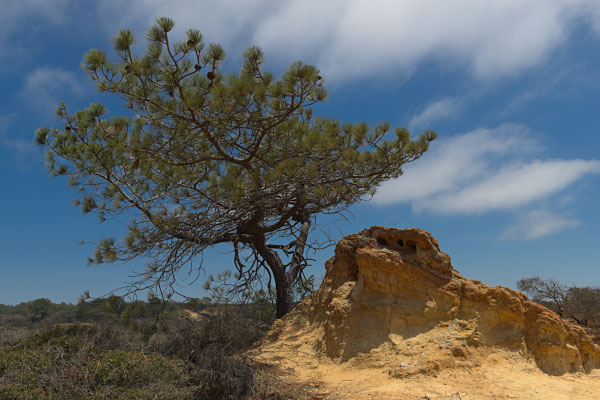
| The original image. |
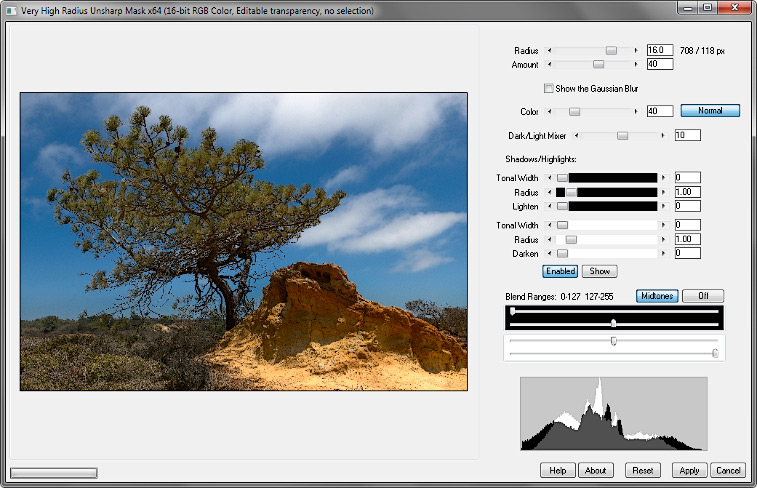
About the plugin:
• The Radius setting is a percent of the image diagonal. The apparent and scaled radii in pixels are also displayed. Lower values produce visible halos, which fade at higher values. Sometimes there is a “sweet spot” at low-to-middle values that enhances a certain scale of detail.
• A large Amount setting helps you find a good Radius setting, but the intended effect is usually found at lower amounts. Negative amounts actually add the Gaussian blur and reduce local contrast, an effect sometimes applied to portraits (“glamour blur”; try starting with Radius 0.3 and Amount -30).
• You may save the Gaussian blurred image if desired; the only control that applies in this case is Radius.
• In Normal mode, the plugin processes each RGB channel separately. The processed colors often have an unreal appearance but may still be interesting. Color controls how much of the processed color components are included in the final image. In Grayscale Only mode, the plugin processes a grayscale copy of the image, then combines it with the color components of the original image. This is similar, but not identical, to Normal mode with Color set to zero; sometimes the results of the latter are superior. However, the former runs faster. In Color Only mode, only the processed color components are used in the final image; at high radii, this results in a global increase in color contrast.
• Dark/Light Mixer works as follows: the central position (zero) displays the processed image; the far left is like Darken blend mode, and the far right is like Lighten.
• Use the Shadows/Highlights control to prevent contrast extremes by lightening shadows and darkening highlights. Press Show to show the masks, then select the desired tonal width and radius. Then hide the masks and adjust Lighten and Darken as needed.
• Use the Blend Ranges to similarly attenuate contrast extremes. Raise the lower black slider in Blend Ranges to gradually fade the filter’s effect in the shadows; lower the upper white slider to similarly fade the highlights. The default setting limits the maximum effect to the midtones.
• The white histogram (background) is the original image; the black one (foreground) is the processed image.
The plugin works with 8- or 16-bit RGB and grayscale images.
Improvements to version 1.2:
• blend ranges for contrast control
• an improved progress bar
Improvements to version 1.201:
• reduced memory requirements; should run better on larger images, 10,000 pixels or more.
Improvements to version 1.202:
• improved shadows/highlights mask, and speed improvements.
Download
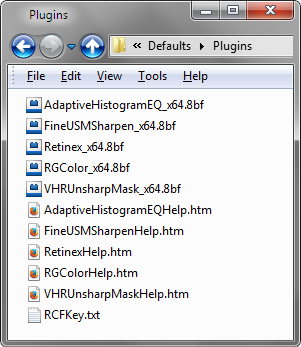
Download the zipped file, then copy the plugin, the help file, and the demo registration key into your plugins folder. The filter will appear under “RC Filters.”
Download them all
Registration
The unregistered filters will save images up to 720 pixels in width and/or height. Please purchase a registration key for $9.00 which unlocks all of the RC Filters. Use either of the secure links below and I will e-mail you a text file (RCFKey.txt) to copy into your plugins folder. Be sure to use a valid e-mail address (I don’t sell or give them away). I check my e-mail for payment notifications every morning, Pacific time, and other random times; if you do not receive a key within one day it means I am in the hospital. If you paid for any of the RC Filters before keys were used, email me and I will send you a key. The filters come with a demo key; if properly installed, the dialog will say “Demo key” when you click the About button. Questions . . . .
The filters, the help files, and the registration key all go into the same folder. It may help to make an RC Filters subfolder. Each filter has a link back to the plugin folder on the About dialog for easy access.
|
© 2019 by Russell Cottrell; released under the
GNU General Public License. Updated 6/29/2019. |
12972 |